Shadertoy - Default Shader Analysis
10 Dec 2018 • 0 Comments
Introduction
Shader is a language used to render computer graphics, primarily light and shadows. With the development of hardware, especially the GPU, Shader is now able to express many things that previously could not be expressed as performance problems.
Shadertoy is an online shader code sharing platform in which Inigo Quilez, one of the pioneers in the field, contributed. It’s the first platform to make Shader code work in Web browsers using WebGL technology, which shows that a few lines of code can produce incredible results.
By the way, looking at the code here, the difficulty is mainly divided into two parts: very easy and very difficult. It seems to be a problem because of the high entry barriers in this field. I also listened to some lectures like The Book of Shaders and Udacity’s Interactive 3D Graphics, Inigo Quilez YouTube, but there was a limit to improve understanding. I thought that there might be some people who felt similar to me, and I wrote this article to fill the lack of myself.
I will try to analyze the Shader code in Shadertoy with opening a window that is interactive and directly changing the value, based on low-complexity and easy-to-understand code. As in Creating a hexagonal map. However, here we are trying to create a Fragment Shader1 using Three.js. Shadertoy is also changing only the Fragment Shader.
Practice!
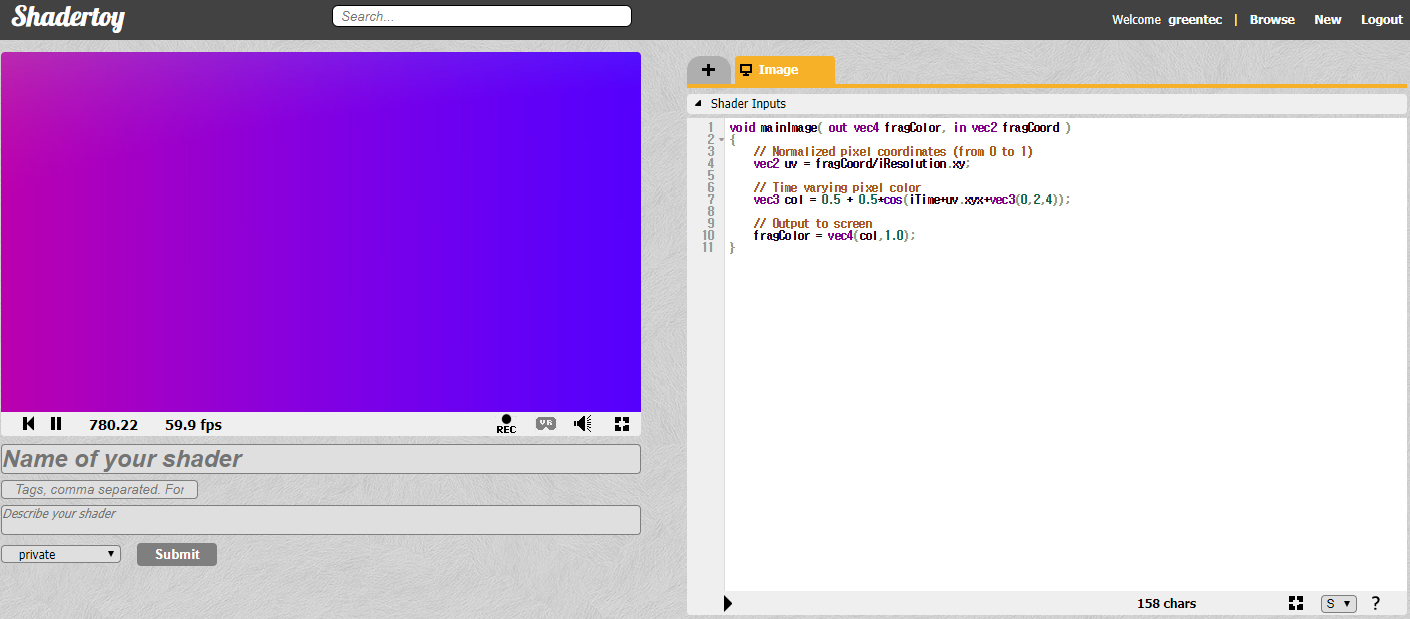
Let’s go right into the code. Today’s code is the default shader that comes up when Shadertoy generates the first code by pressing New. Since it is the first time, I will make it easy.
And since you can not use Shadertoy’s code in three.js, you have to import it with a little variation. This part is also well documented in this post on hackernoon. Here we use fragColor as gl_FragColor, fragCoord as gl_FragCoord, iResoultion as resolution, and iTime as time.
The Fragment Shader in the above code draws the entire screen in red. The gl_FragColor on line 4 defines the color of each pixel. Unlike the RGB values represented by integer from 0 to 255, the Shader represents float from 0.0 to 1.0. In this example, color is specified in the order of R, G, B, and A. vec4 represents a vector of length 4.
If you uncomment line 5 (you can erase the annotation //), the color on the right screen turns gray. vec3 is a vector of length 3. Line 5 has the same value as vec4(0.5, 0.5, 0.5, 1.0).
When you uncomment line 6, the screen turns white. Because R, G, B, and A are all 1.0. You can try changing the color of the screen by changing it to a different value.
Now, let’s write a deeper version of the code. Shadertoy’s default shader line 4 has the following code:
vec2 uv = fragCoord/iResolution.xy;
fragCoord is a two-dimensional vector value that represents the actual coordinates of the pixel. The x and y coordinates are between 0.5 and resolution - 0.5, where resolution is the size of the x and y of the screen. In Shadertoy, you can refer to the size of the screen as a value called iResoultion. xy in iResolution.xy means to get only the first two vectors, x size and y size.
So what value is uv? Since each coordinate is divided by the maximum value the screen can have, xy of uv will be between 0.0 and 1.0. This calculation keeps the value of the pixel constant even if the size of the screen changes. This code is one of the most popular boilerplate code2 in Shadertoy.
Are you unfamiliar with 0.0~1.0? We wrote the same range of values in color above. So what if you put this value in color here in color?
The lower left corner of the screen is black because it is x=0.0, y=0.0, and the upper right is yellow, because it is x=1.0, y=1.0. You can create a color gradient with just two lines of Fragment Shader code. You can experiment freely by uncommenting the 6th and 7th lines and changing the values.
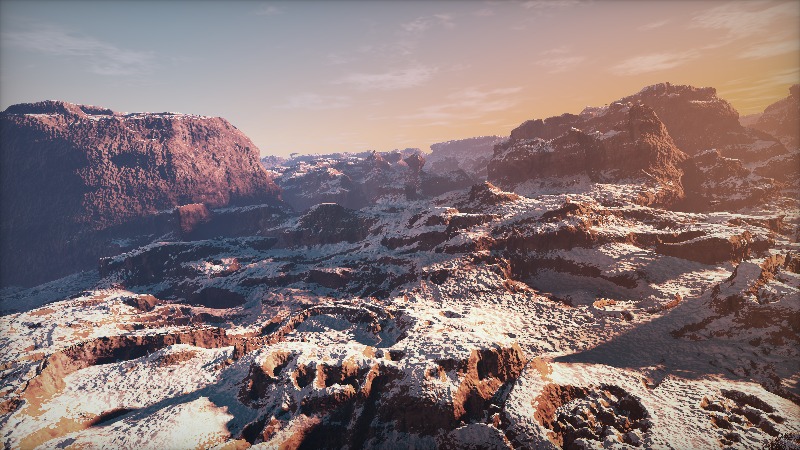
Finally, you can see that the default shader is turned on in Shadertoy and that the value changes over time. This is because the time variable is used in the Fragment Shader to change the color of the pixel.
vec3 col = 0.5 + 0.5*cos(iTime+uv.xyx+vec3(0,2,4));
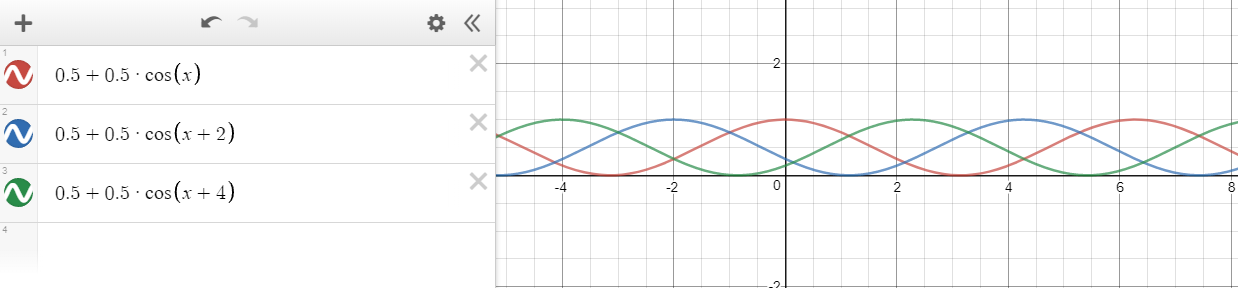
To make a simple analysis of this part, the first 0.5 is basically a value added so that the overall color of the screen does not become too dark. The cos multiplied by 0.5 is the cos value of the trigonometric function. Since the cos value has a value between -1 and 1, multiplying by 0.5 will give a value between -0.5 and 0.5, and then plus 0.5 to them, finally got between 0.0 and 1.0.
iTime is a time value. The time value will of course increase gradually, so the iTime value given to cos will cause the cos value to change slowly. uv.xyx is a vector of length 3 using uv’s x, y, and x. And add vec3(0,2,4) to x, y, and z, respectively, so that the values do not change equally. In other words, we can conclude that col will have three smooth float values between 0.0 and 1.0 that are mutually related.
Let’s check it by code.
Now we can see that Shadertoy’s default shader. If you want to slow down or speed up the speed of color change, multiply time by constant such as 0.5 or 2. You can also adjust the size of the number outside of cos. In addition, you can check the changes by giving various changes to the shader code.
Today, I analyzed Shadertoy’s basic shader. Next time I’ll come up with a shader that’s a bit more advanced than this, but not so difficult. If it is too difficult, I can not interpret it. Thank you for reading the long story.